Creating Full-Screen Modals in SwiftUI: A Comprehensive Guide
Written on
Introduction to Full-Screen Modals
In SwiftUI, modals are essentially views that overlay the current screen. The standard way to implement a modal is through the sheet modifier, which offers essential functionality for developers. However, for situations where you want a modal to take up the entire screen, SwiftUI provides a specific modifier called fullScreenCover, available from iOS 14 onwards.
In this tutorial, we will build a straightforward app that displays a full-screen modal when a button is pressed. The new modal will accept text input that will also be reflected on our main view.
Setting Up the Project
To kick things off, create a new SwiftUI project. We’ll start by setting up the main view. Below is the code for the ContentView:
struct ContentView: View {
@State private var mainText: String = ""
var body: some View {
ZStack {
ScrollView {
Text(mainText)
.padding()} // ScrollView
} // ZStack
} // body
} // ContentView
Here, the main view will display a scrollable text that will be populated by the modal.
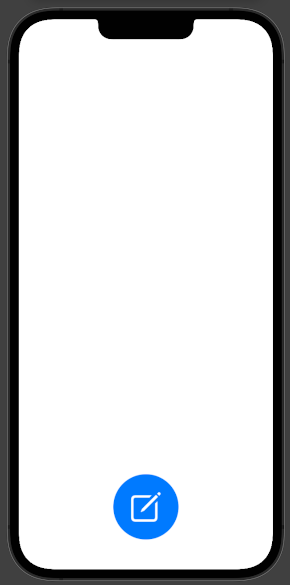
Adding the Floating Action Button
Next, we need a button that, when pressed, will trigger the full-screen modal. You can implement this button outside of ContentView as follows:
struct NewNoteButton: View {
var action: () -> Void
var body: some View {
Button(action: action) {
Image(systemName: "square.and.pencil")
.resizable()
.scaledToFill()
.frame(width: 50, height: 50)
.padding(30)
}
.background(.blue)
.foregroundColor(.white)
.cornerRadius(.infinity)
.padding()
} // body
} // NewNoteButton
Now, incorporate this button into the ContentView, positioning it below the ScrollView within the ZStack:
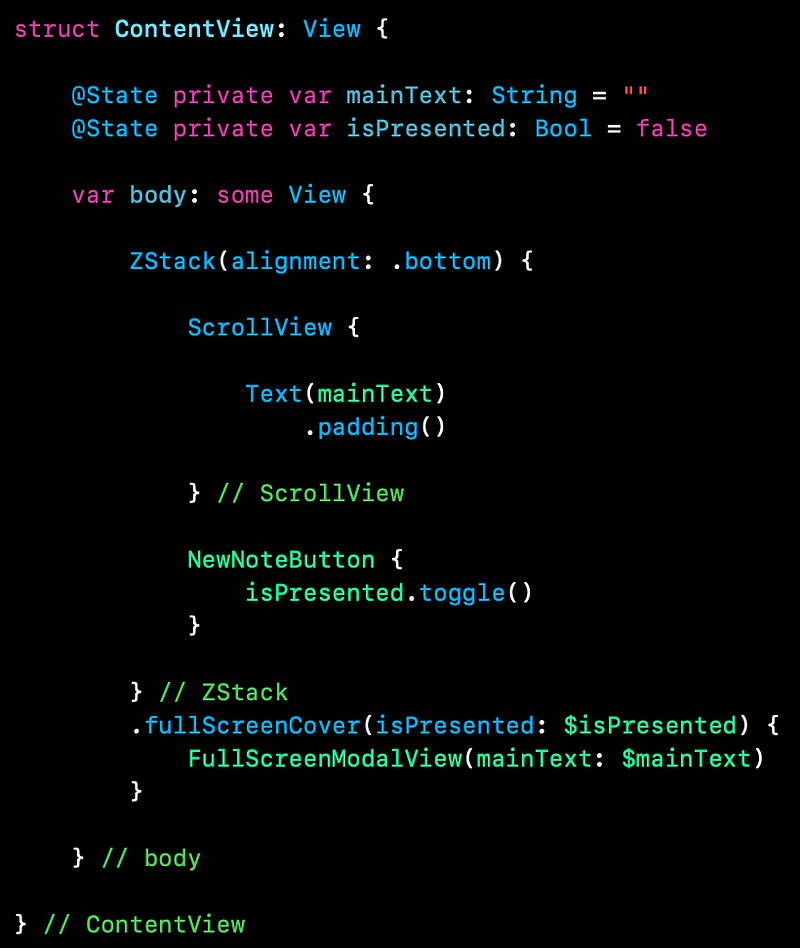
struct ContentView: View {
@State private var mainText: String = ""
var body: some View {
ZStack {
ScrollView {
Text(mainText)
.padding()} // ScrollView
NewNoteButton {}
} // ZStack} // body
} // ContentView
To align the button correctly within the view, modify the ZStack alignment:
ZStack(alignment: .bottom)
Using the fullScreenCover Modifier
The fullScreenCover modifier operates similarly to the sheet modifier. It requires a state variable to manage its visibility. Add the following variable to ContentView:
@State private var isPresented: Bool = false
Then, attach the fullScreenCover modifier to the ZStack:
.fullScreenCover(isPresented: $isPresented) {}
Now it’s time to define the content of the full-screen modal. Write the following code outside of ContentView:
struct FullScreenModalView: View {
@Binding var mainText: String
var body: some View {
VStack {
TextEditor(text: $mainText)
.padding(.horizontal)} // VStack
} // body
} // FullScreenModalView
This view contains a TextEditor that is bound to the mainText variable in ContentView. Add the modal view as the content of fullScreenCover:
.fullScreenCover(isPresented: $isPresented) {
FullScreenModalView(mainText: $mainText)
}
Next, modify the NewNoteButton to change the isPresented state, making the modal visible:
NewNoteButton {
isPresented.toggle()
}
Finishing Touches
At this point, the modal appears when the button is pressed, but we need to enhance its functionality. We will add a header with a "Done" button in the FullScreenModalView. Here’s the updated code:
struct FullScreenModalView: View {
@Binding var mainText: String
@Environment(.dismiss) var dismiss
var body: some View {
VStack {
HStack {
Spacer()
Button(action: {
dismiss()}) {
Text("Done")
.foregroundColor(Color.white)}
.padding()
} // HStack
.background(Color.blue)
TextEditor(text: $mainText)
.padding(.horizontal)} // VStack
} // body
} // FullScreenModalView
This code snippet adds a "Done" button that dismisses the modal when pressed. If you are targeting iOS 14 or earlier, you can use the presentationMode environment variable instead:
@Environment(.presentationMode) var presentationMode
With that in place, you can call:
presentationMode.wrappedValue.dismiss()
Testing the Application
Now, run the app and test entering text in the modal. Upon pressing "Done," the text should appear in the main view.
Incorporating Video Tutorials
To enhance your understanding, check out these helpful video tutorials:
The first video, SwiftUI Presentations with Modals, Bottom Sheets, and FullScreen cover in iOS, provides a comprehensive overview of working with modals in SwiftUI.
The second video, SwiftUI Fullscreen Modal Hack with Animation, demonstrates creative ways to implement full-screen modals with animations.
Conclusion
Congratulations! You’ve successfully learned how to create and manage full-screen modals in your SwiftUI applications. For the complete source code, you can visit the GitHub repository linked below.
May the code be with you,
- Arc